Create your first portal
This guide walks you through the full setup of a portal from scratch: creating the portal, connecting your Notion workspace, setting up tabs, and adding users.
Step 1: Create your portal
After signing up, click Create a portal.
You will be asked to provide:
- A portal name.
- A subdomain (e.g.
acme.portal.getslap.co).
Step 2: Create your first tab
A tab is a page that appears in your portal’s navigation menu. Each tab is connected to one Notion database - it defines what data your portal users can see and interact with.
To create your first tab, go to Admin > Tabs and click Add tab.
General settings
- Name - the label shown in the portal menu (e.g.
Tickets). - Slug - the URL path for this tab (e.g.
my-tickets). - Data source - the Notion database connected to this tab.
If this is your first tab, you will need to connect your Notion workspace first. Click + Connect another data source to start the OAuth flow. This lets you choose which pages and databases SlapPortal can access.
Note: When sharing access in Notion, make sure to share the page that contains the database, not just a view of it.
Note: After sharing a new database, Notion can take a moment to update permissions. Wait a few seconds and refresh if the database doesn’t appear in the dropdown right away.
Display
- Layout - choose how records are displayed: List (standard list) or Board (kanban-style).
- Group by - choose a property to group records in the tab view (e.g. by status, priority).
- Visible groups - if a group by is set, select which groups to display. If none are selected, all groups are shown. Records in excluded groups will not appear.
Properties
This section controls which properties from your Notion database are visible in the portal and what users can do with them.
See the Supported properties documentation for the full list and details on how each type behaves.
For each property, you can configure:
- Order - drag the handle to reorder properties.
- Tab view - toggle whether the property is visible in the tab view (list or board). A property must be visible in the page view to appear in the tab view.
- Page view - set each property to hidden, visible, or editable in the record view.
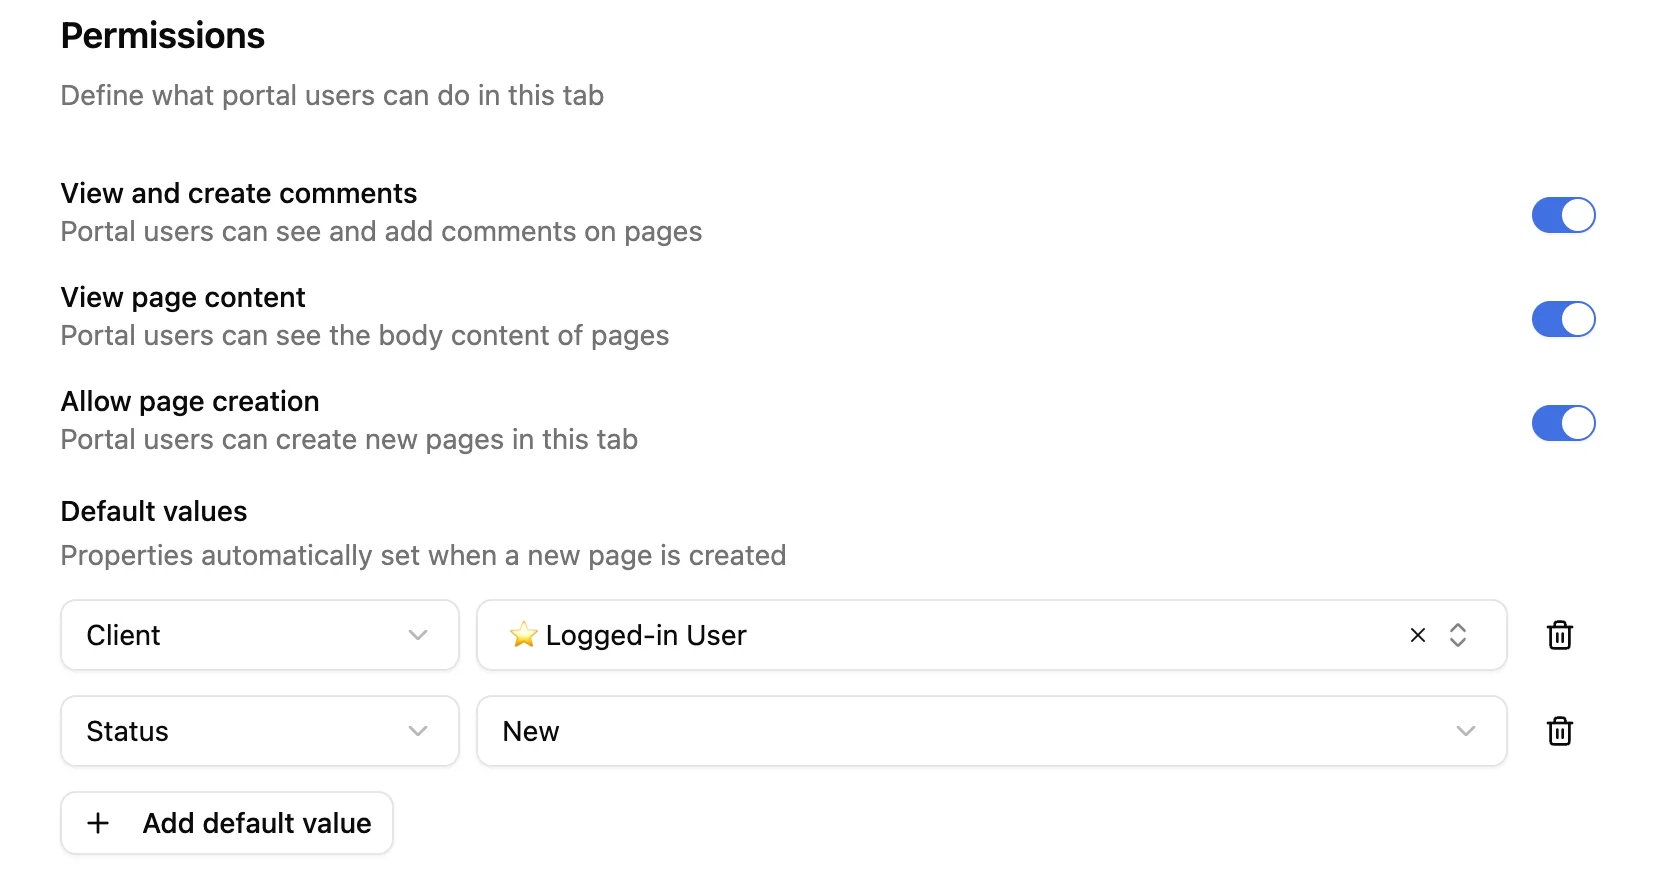
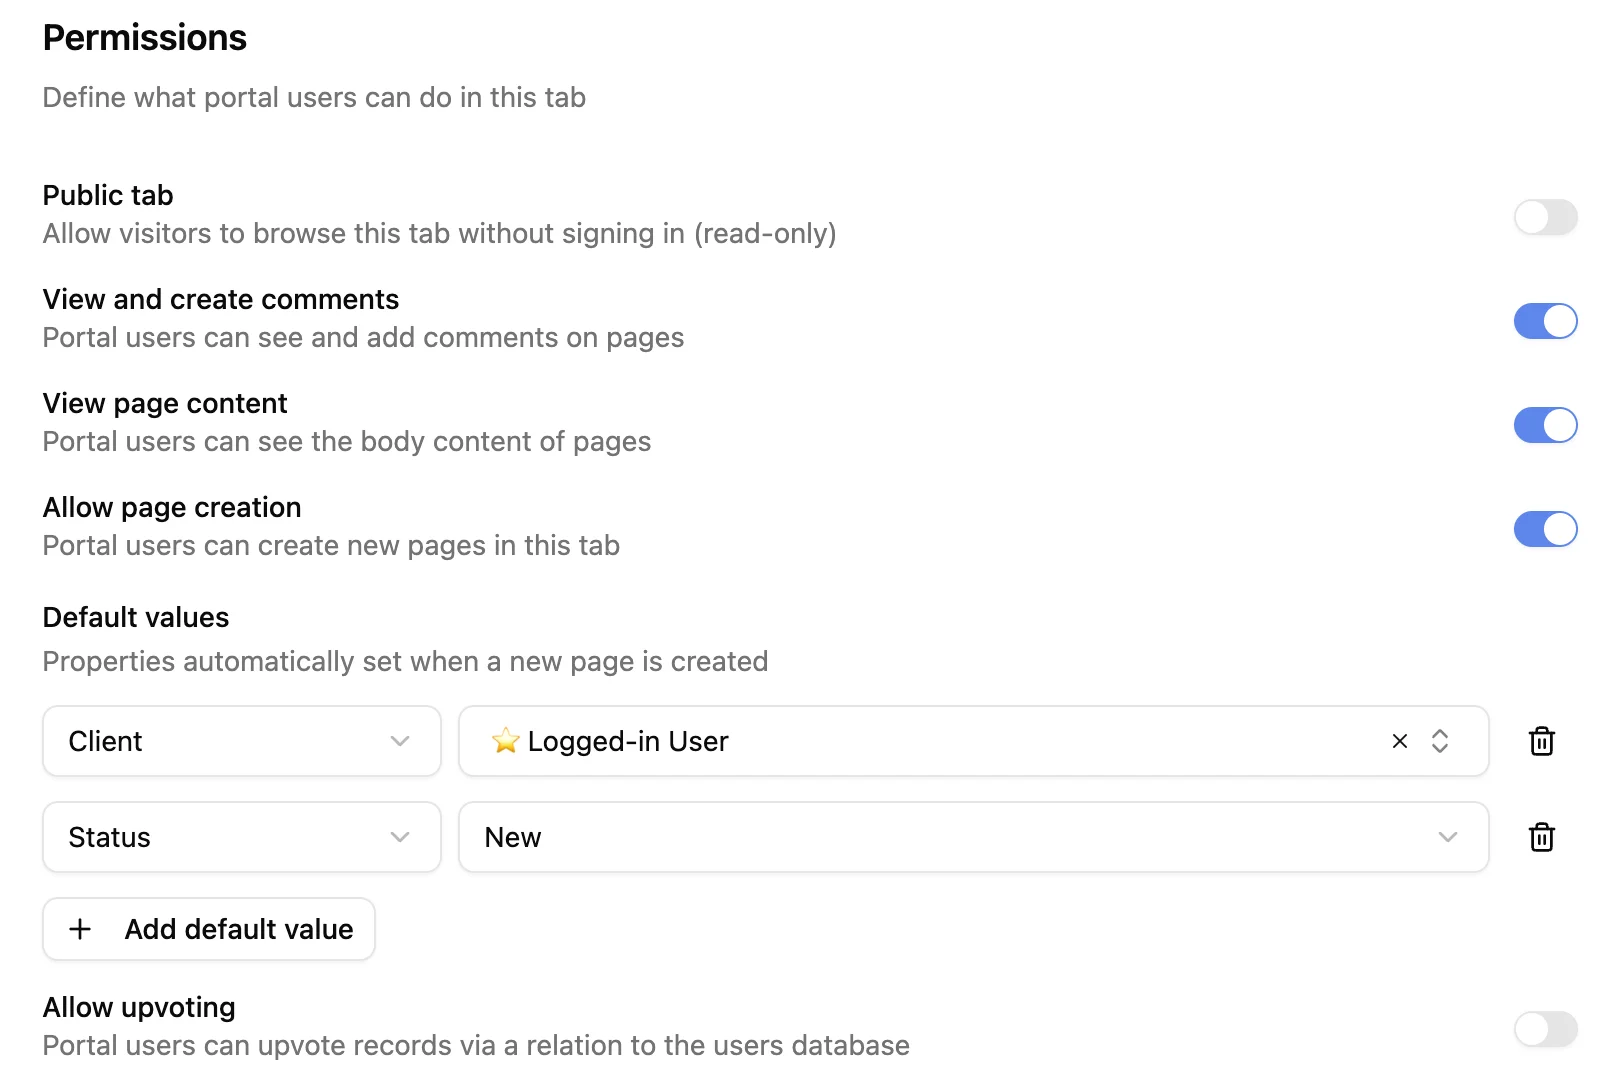
Permissions
- Public tab - make this tab accessible to anonymous visitors without sign-in. See the Public tab doc for details.
- Comments - allow portal users to view and post comments on Notion pages. See Comments for more details.
- View page content - allow portal users to see the Notion page body.
- Allow page creation - allow portal users to create new records in this database. When enabled, you can define default property values for new records (e.g. automatically set the client field to the logged-in user).
- Allow upvoting - allow portal users to vote on records. See the Voting documentation for setup and details.
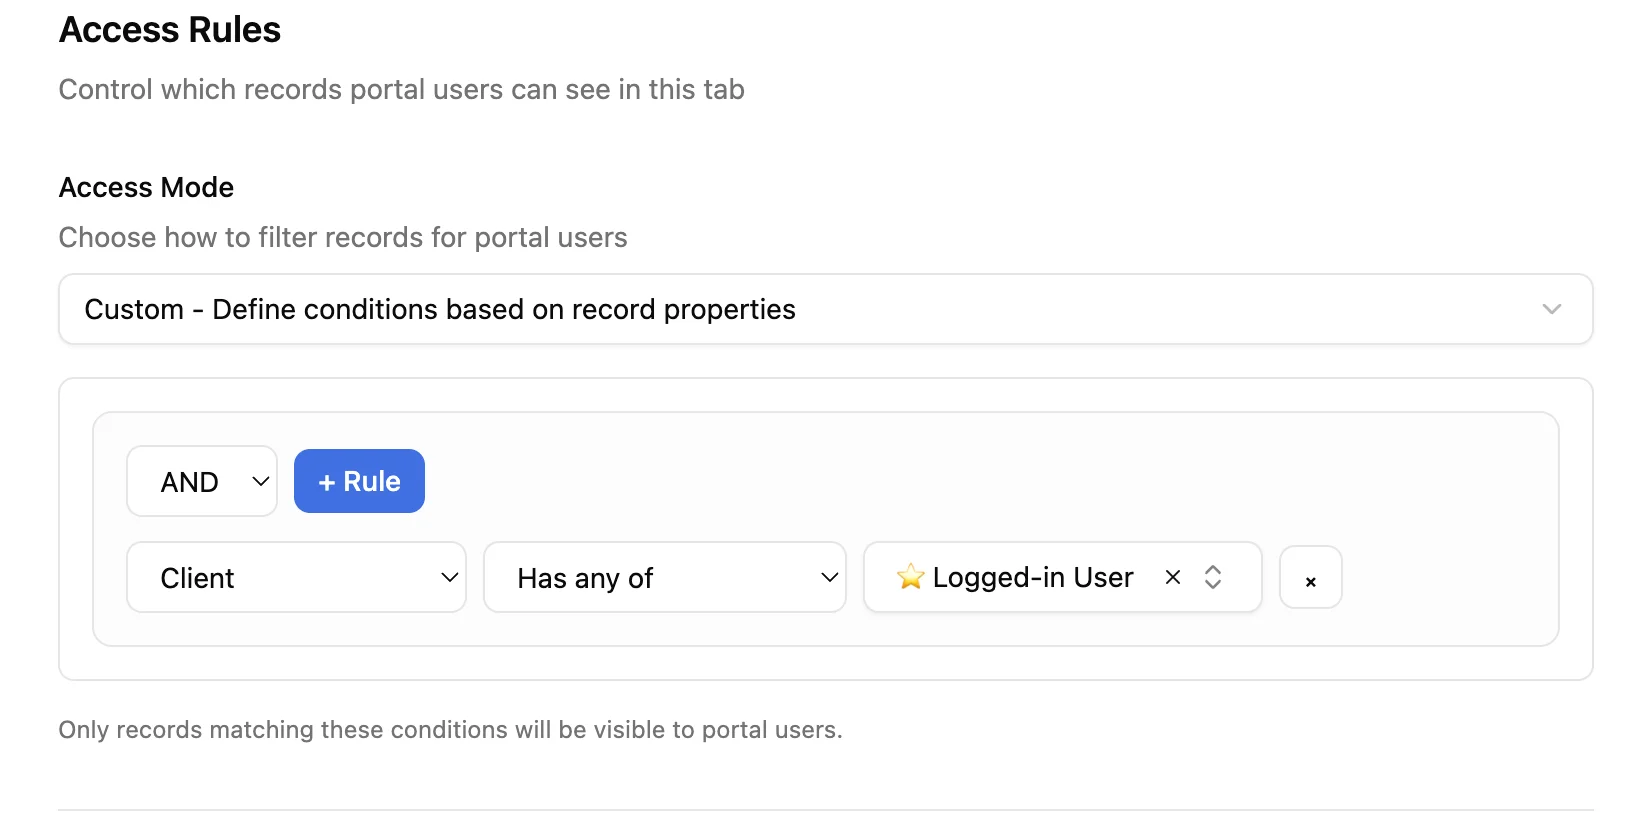
Access rules
Define which records a portal user can see. Three options are available:
- No access - users cannot see any records.
- Access to all records - users can see all records in the database.
- Custom rules - set conditions that must be met for a record to be visible. For example: the client field must match the logged-in user, and the status must not be “Cancelled”.
For more details, see the Access rules documentation.

Step 3: Add users
Portal users are the external users who can sign in to your portal. You can manage them directly from the portal (Manual mode) or by syncing them with a Notion database (Synced with Notion).
Go to Admin > Users to add or sync your users. See the Users doc for the full setup and the differences between the two modes.
Step 4: Customize your portal
Go to Admin > General to configure:
- Portal name - the name shown to your portal users.
- Logo - the logo displayed in the portal.
- Allow signups - let visitors create their own account by entering their email on the sign-in page. See the Authentication doc for how sign-in and signup work.
See the General settings doc for more details.